Homemade Reese’s Cups with Crispy Rice
Highlighted under: Easy Desserts Favorites
I love making these Homemade Reese’s Cups with Crispy Rice because they combine the rich taste of chocolate and peanut butter with a delightful crunch. Each bite is a perfect balance of textures, and it’s so satisfying to create a beloved treat from scratch. It’s a fun activity I enjoy with my family, and watching them enjoy the fruits of our labor is incredibly rewarding. Plus, they make for a fantastic gift or party treat when you want to impress your friends and family with something unique and personal.
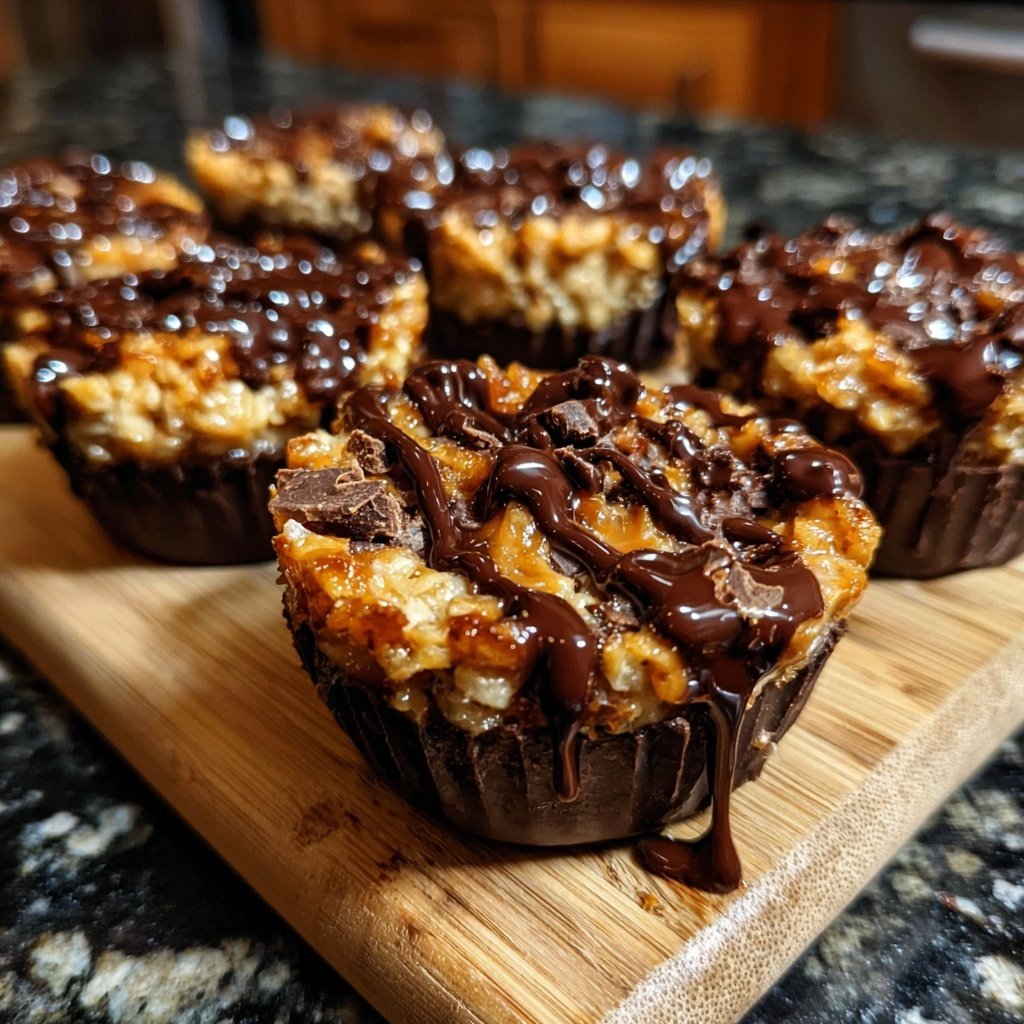
When I first attempted making these Homemade Reese’s Cups with Crispy Rice, I was surprised at how simple and rewarding the process turned out to be. I experimented with the ratio of crispy rice to chocolate and found that a little extra crunch really enhances the overall experience. It's become a family favorite, and we look forward to making a batch together each time.
One crucial tip I learned is to use quality chocolate for coating—the flavor makes a significant difference. With just a few ingredients and a little patience, you can make an indulgent treat that rivals the store-bought versions and adds a personal touch to your dessert table.
Why You'll Love This Recipe
- Deliciously creamy peanut butter filling complemented by chocolate
- Crispy texture that adds a fun twist to the classic treat
- Perfect for customizing with different toppings or flavors
The Importance of Quality Ingredients
Using high-quality chocolate chips is crucial for a smooth, silky texture when melting. I recommend choosing brands that contain a higher percentage of cocoa to ensure a rich flavor. Look for chocolate labeled as 'couverture' if accessible, as it melts more easily and has a superior taste that enhances your Reese’s Cups.
For the peanut butter, creamy varieties work best as they incorporate well into the mixture. Natural peanut butter can be used, but it may alter the consistency slightly; it’s oilier and may require more powdered sugar to achieve the right thickness. Always check your peanut butter for added sugars or oils that might affect the overall sweetness and texture.
Perfecting the Assembly Technique
When pouring the melted chocolate into the cupcake liners, be sure to swirl it enough to cover the bottom but not too much that it overflows. Aim for a thin, even layer, approximately 1/8 inch thick. This balance ensures a satisfying chocolate shell without overwhelming the peanut butter filling, allowing that creamy texture to shine through.
After adding the peanut butter mixture, gently press it down to ensure it adheres to the chocolate base. Then, cover it with another layer of melted chocolate, making sure to seal the edges to prevent any leaking during chilling. This step is crucial; a well-sealed cup helps maintain those delightful layers and prevents messy bites.
Ingredients
Gather the following ingredients to prepare your Homemade Reese’s Cups with Crispy Rice:
Ingredients
- 1 cup creamy peanut butter
- 1 1/2 cups powdered sugar
- 3 cups crispy rice cereal
- 2 cups milk chocolate chips
- 1 tablespoon vegetable oil
Make sure to have everything ready before you start the preparation!
Instructions
Follow these simple steps to create your own delicious Homemade Reese’s Cups with Crispy Rice:
Melt the Chocolate
In a microwave-safe bowl, combine the milk chocolate chips and vegetable oil. Heat in 30-second intervals, stirring until the mixture is smooth and fully melted.
Prepare the Peanut Butter Mixture
In another bowl, mix the creamy peanut butter and powdered sugar until well incorporated. Fold in the crispy rice cereal gently until the mixture is combined.
Assemble the Cups
Line a muffin tin with cupcake liners and pour a spoonful of melted chocolate into each liner. Swirl to coat the bottom. Add a tablespoon of the peanut butter mixture on top, followed by another layer of melted chocolate to cover.
Chill and Serve
Place the muffin tin in the refrigerator for about 20 minutes or until set. Once firm, remove the cups from the liners and enjoy your delicious creation!
Enjoy your homemade treats, and feel free to share them with your friends and family!
Pro Tips
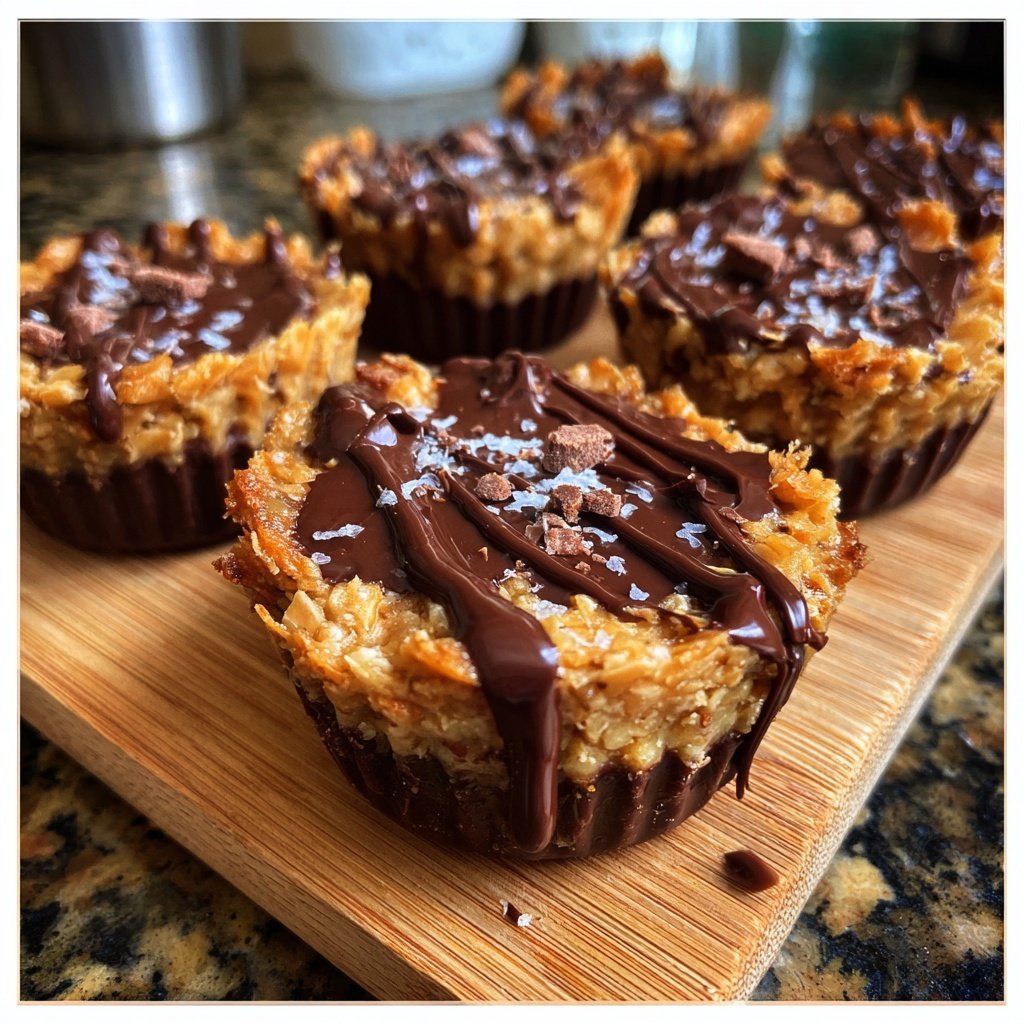
- Experiment with different types of chocolate or add toppings like sea salt or crushed nuts for extra flavor and texture.
Make-Ahead and Storage Tips
These Homemade Reese’s Cups can be made in advance, which is perfect for planning parties or gifting. Once set, store them in an airtight container in the refrigerator for up to a week. The chilled environment keeps the chocolate firm and the peanut butter filling creamy, ensuring they taste fresh when you’re ready to enjoy them.
If you want to save them for longer, consider freezing the cups. Place them in a single layer on a baking sheet until solid, then transfer them into a freezer-safe bag with parchment paper between layers to prevent sticking. Thaw in the fridge for about an hour before serving.
Creative Variations to Explore
Feeling adventurous? Customize your Reese’s Cups by adding a sprinkle of sea salt on top of the chocolate before it sets. This enhances the flavor contrast between sweet and savory and takes them up a notch. You could also consider mixing in some crushed nuts or pretzels into the peanut butter filling for added crunch.
For a different taste experience, swap out the milk chocolate chips for dark chocolate or even white chocolate. Each variation brings a unique flavor profile to the table and is worth trying if you're looking to tailor these treats to your personal preference.
Questions About Recipes
→ Can I use dark chocolate instead of milk chocolate?
Absolutely! Dark chocolate will give a rich flavor that pairs beautifully with the peanut butter.
→ How should I store the Reese’s Cups?
Store them in an airtight container in the refrigerator for up to a week for best freshness.
→ Can I make these vegan?
Yes, you can substitute peanut butter with almond or sunflower seed butter, and use dairy-free chocolate chips.
→ What if my mixture is too dry?
You can add a bit more peanut butter to achieve a better consistency that can hold together.
Homemade Reese’s Cups with Crispy Rice
Created by: Ottoline Reeves
Recipe Type: Easy Desserts Favorites
Skill Level: Easy
Final Quantity: 12 cups
What You'll Need
Ingredients
- 1 cup creamy peanut butter
- 1 1/2 cups powdered sugar
- 3 cups crispy rice cereal
- 2 cups milk chocolate chips
- 1 tablespoon vegetable oil
How-To Steps
In a microwave-safe bowl, combine the milk chocolate chips and vegetable oil. Heat in 30-second intervals, stirring until the mixture is smooth and fully melted.
In another bowl, mix the creamy peanut butter and powdered sugar until well incorporated. Fold in the crispy rice cereal gently until the mixture is combined.
Line a muffin tin with cupcake liners and pour a spoonful of melted chocolate into each liner. Swirl to coat the bottom. Add a tablespoon of the peanut butter mixture on top, followed by another layer of melted chocolate to cover.
Place the muffin tin in the refrigerator for about 20 minutes or until set. Once firm, remove the cups from the liners and enjoy your delicious creation!
Extra Tips
- Experiment with different types of chocolate or add toppings like sea salt or crushed nuts for extra flavor and texture.
Nutritional Breakdown (Per Serving)
- Calories: 200 kcal
- Total Fat: 12g
- Saturated Fat: 5g
- Cholesterol: 0mg
- Sodium: 150mg
- Total Carbohydrates: 22g
- Dietary Fiber: 1g
- Sugars: 15g
- Protein: 4g